How Can You Prepare a Precise Working Solution From a Concentrated Stock?
Learn how to prepare a precise working solution from a concentrated stock by calculating the required stock and diluent volume, choosing a practical batch size, and mixing carefully.
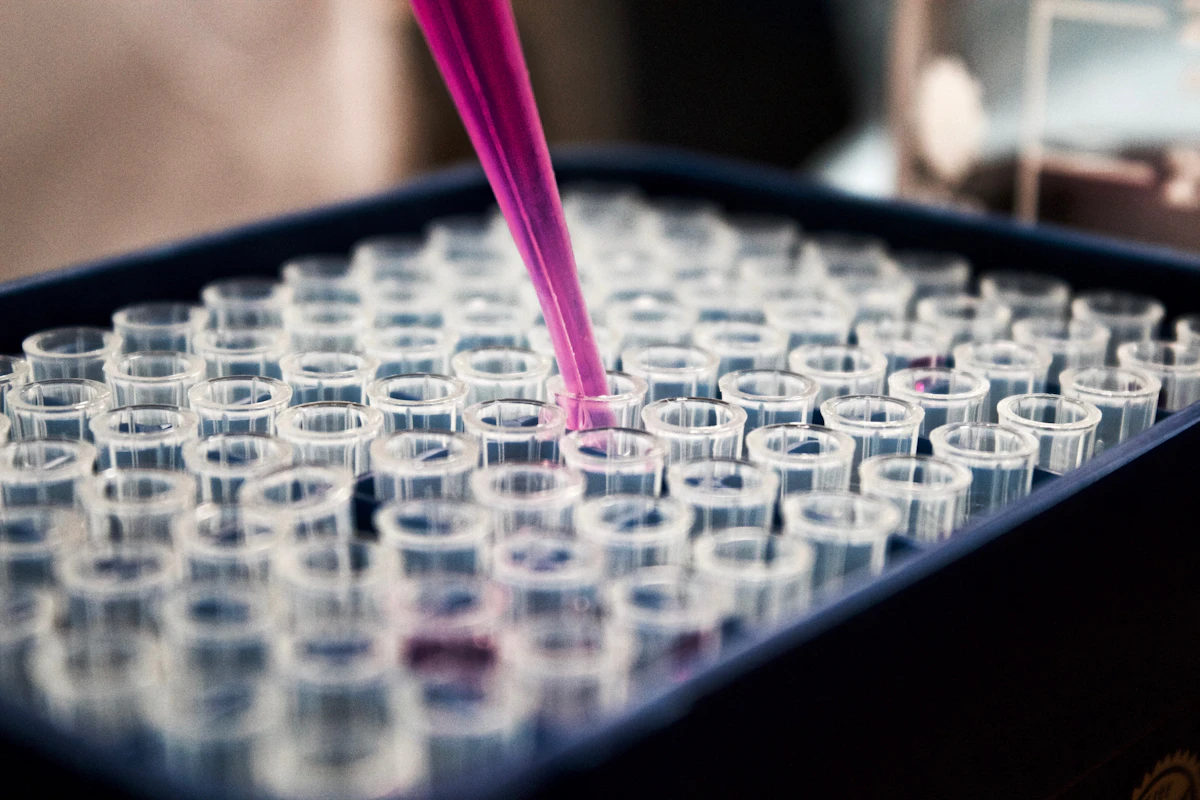
Bench scientists rarely use their strongest reagents straight from the bottle. Concentrated stocks save space and stay stable for longer, so labs keep them on the shelf. Then, on the day of the experiment, someone must turn that stock into a working solution. The job sounds easy, yet small slips can change results. This guide walks you through each stage of accurate working solution preparation. You will learn how to calculate volumes, pick a sensible batch size, protect accuracy at small volumes and store the finished liquid properly.
What Makes a Working Solution Different From a Stock Solution?
A stock solution is a strong, carefully prepared liquid meant for storage. It holds a high concentration so that you can make many later solutions from a small amount. A working solution is the ready-to-use version. It has the exact working concentration that your protocol requires.
The glass is what you consume. Labs favor stocks because they cut storage costs and reduce weighing errors. Weighing a large mass once is more accurate than weighing tiny masses again and again. The working solution then follows from a simple stock dilution step.
Determining the Required Final Concentration
Before any math, confirm what the protocol really asks for. Read the method carefully. Note the target working concentration, the unit and the final volume for each reaction or sample. Some protocols list the concentration in the final mixture, not in the working solution itself. That difference matters greatly.
For instance, a method may call for 1 µM of a reagent in the final reaction. If you add the reagent as a tenth of the reaction volume, your working solution must be ten times stronger, at 10 µM. Confusing these two ideas is a classic source of failed assays. Write the target down, underline the unit and double-check whether it refers to the tube, the well or the working solution itself.
Calculating the Stock Volume You Need
Now use the C1V1 C2V2 rule. Multiply the target concentration by the final volume. Then divide by the stock concentration. The answer is the stock volume required.
Try an example. Your stock is 100 mM and you want 50 mL of 2 mM working solution. Multiply 2 by 50 to get 100. Divide 100 by 100 and you get 1 mL. You need 1 mL of stock. A good working solution calculator performs this step instantly, but knowing the arithmetic helps you catch typing errors. Always compute the number yourself at least once so that you understand what the tool reports.
Measuring the Correct Amount of Diluent
After finding the stock volume, calculate the diluent by subtraction. The diluent volume required equals the final volume minus the stock volume. In our example, 50 mL minus 1 mL leaves 49 mL of diluent.
Choose the diluent with care. Many reagents need a specific buffer to stay active and dissolved. Others tolerate plain water. Use the same solvent family as the stock whenever you can. Add the stock to a container that already holds most of the diluent, and then top up to the mark. This order prevents local over-concentration and reduces the chance of precipitation. Careful buffer dilution habits protect both the chemistry and the numbers.
Choosing an Appropriate Final Volume
Batch size deserves real thought. Too small a batch forces you to pipette tiny stock volumes, and small volumes carry larger relative errors. Too large a batch wastes expensive reagent and may expire before you use it.
A practical rule is to choose a final working volume that requires a stock volume you can measure comfortably. Many labs avoid pipetting below one or two microliters if a larger batch is possible. If your calculation gives 0.4 µL, consider making ten times more and using it across several experiments. Also check the shelf life of the working solution. Some stay stable for months, while others must be used within hours. Match the batch to your real needs.
Step-by-Step Working Solution Preparation
Follow a consistent routine. First, gather the stock, diluent, clean labware and calibrated pipettes. Second, calculate the stock and diluent volumes and record them. Third, add about 80 percent of the diluent to a clean container. Fourth, add the stock volume slowly, touching the pipette tip to the liquid. Fifth, rinse the tip by drawing up the liquid once. Sixth, add diluent to the final volume. Finally, mix well.
The table below summarizes the process for our example.
| Step | Action | Amount |
|---|---|---|
| 1 | Calculate stock volume | 1 mL |
| 2 | Calculate diluent volume | 49 mL |
| 3 | Add most diluent to container | About 40 mL |
| 4 | Add stock and rinse tip | 1 mL |
| 5 | Fill to final volume | 50 mL total |
| 6 | Mix thoroughly | Invert or vortex gently |
Following the same order every time builds habit and lowers the chance of skipped steps.
How to Improve Accuracy During Small-Volume Dilutions
Small volumes magnify every tiny mistake. A single droplet clinging to a tip can be a large fraction of a two-microliter transfer. So adopt techniques that protect accuracy. Use a pipette whose range matches your volume, ideally with the target near the upper half of that range. Pre-wet the tip. Pipette slowly and hold the tip just under the liquid surface when dispensing.
Another smart trick is an intermediate dilution. Instead of moving 0.5 µL of very strong stock, make a tenfold weaker intermediate first. Then use 5 µL of that intermediate for the final step. This approach turns an awkward volume into a comfortable one. Also make sure your pipettes are calibrated on schedule. Reliable precise dilution work depends as much on equipment as on arithmetic.
Why Mixing Matters After Dilution
Adding stock to diluent does not automatically produce a uniform liquid. Dense concentrate can sink and sit at the bottom, especially in tall containers. Without thorough mixing, one part of the liquid is stronger than the rest. Your sample then depends on where you draw it from.
Mix by inverting a capped flask several times, or by gentle vortexing for small tubes. For sensitive proteins or cells, avoid vigorous shaking, which may cause foaming or damage. Swirl slowly instead. Viscous liquids such as glycerol solutions need extra time. A well-mixed diluted working stock looks the same throughout and delivers the same concentration in every aliquot.
Labeling and Storing Prepared Working Solutions
Proper labels prevent confusion and protect safety. Write the name of the reagent, the concentration, the solvent, the preparation date and your initials. Add an expiry date if you know it. A clear label allows a colleague to use your solution correctly without asking questions.
Storage conditions matter as well. Many working solutions need refrigeration, protection from light or freezing in small aliquots. Repeated freeze and thaw cycles can damage sensitive reagents, so split the batch into single-use portions. Use clean, compatible containers because some chemicals react with certain plastics. Good reagent preparation ends with careful storage, not with the last pipette stroke.
Conclusion
Preparing a precise working solution starts with clarity about the target concentration and ends with careful labeling. Use C1V1 C2V2 to find the stock volume and subtract it from the final volume to find the diluent. Choose a batch size that avoids tiny pipetting volumes, and use intermediate dilutions when needed. Mix thoroughly, label clearly and store correctly. With these habits, every working solution you make from a concentrated stock will support trustworthy experiments.